It doesn’t matter what your experience with origami is, after reading our master class, you will learn how to make a swan out of paper with your own hands.
The only thing required in excess is time, perseverance and perseverance. Many mistakenly believe that this is a simple figure, and creating it is no more difficult than an airplane.
The complexity of the work depends on the option selected.
There are a huge number of original methods for creating a three-dimensional figure of a swan. Popular options:
• modular constructor;
• in the style of origami;
• cutting.
In the manufacture of any option has its advantages and disadvantages. What option can even a child do with his own hands? This is a craft with cutting elements. The most difficult thing is to make a model of modules, but in practice this is not so. Yes, this option requires the most time, but collecting a gorgeous figure is not difficult.
Paper swans: how to make DIY crafts?
What will be required to achieve the goals? Before you make a swan out of paper with your own hands, you need to prepare a workspace. What do we need for this?
1. Flat surface. For example, a table or floor.
2. Scissors.
3. The line.
4. Sheets of paper.
5. A set of simple pencils.
6. In some cases, you need a set of colors to give the desired color to the figure.
7. Optional, additional details, such as eyes.
8. Glue.
How to make a modular model with your own hands?
The most difficult thing in this case is to prepare a large number of identical modules. In the beginning, each module cannot be made quickly, but with practice, it will turn out to prepare the necessary number of parts in 1-3 hours. I must say that a product of medium complexity will require 1000-1500 fragments. Be patient.
Let's start the study of technology.
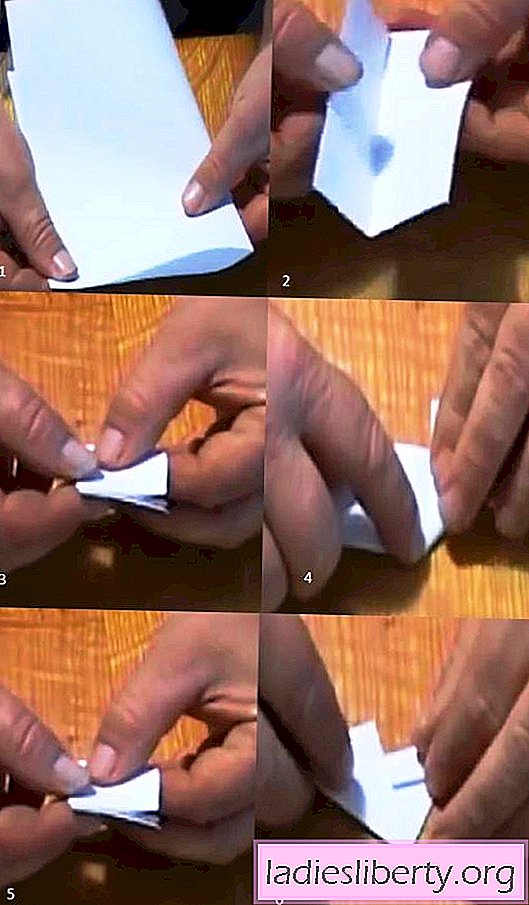
1. Fold a sheet of paper in half.
2. Cut the sheet with scissors or a thin knife.
3. Without dividing the divided parts, fold them in half again.
4. Again we cut on a bend.
5. Repeat bending and cutting again.
6. Take 1 piece, bend the big side in half.
7. The folded leaf fragment is bent in the middle.
8. Expand the last bend. At the bend, we bend the first and then the second half at an angle of 45 degrees.
9. On the reverse side, where the joint is, we add the beginning of the sheet at an angle of 45 degrees.
10. Repeat the same operation on the other hand.
11. Along the line of height lowered to the base of our triangle, we carry out the bending.
12. The module is ready!
First, prepare 500 slices. Now proceed to the assembly.
1. On one side of the pocket module, on the other - the corner of the module that we insert into the pocket.
2. Let's start from the bottom. We take one module, insert it into the pocket of the other two.
3. In those modules in which the corners of the first were inserted, they have one more empty pocket. We take 2 more such products and insert 1 corner into each pocket.
4. In fact, we get a two-row connection. The first row modules are inserted into the pockets of the second row modules.
5. Requires 60 modules in 2 rows.
6. Now we put the 3rd row on the modules of the 2nd row.
7. A total of 6 rows will be required for the foundation.
8. Turn the base over to the other side and, with light movements, we direct the corners of the extreme rows up.
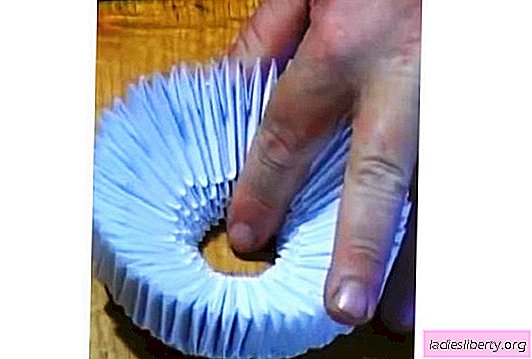
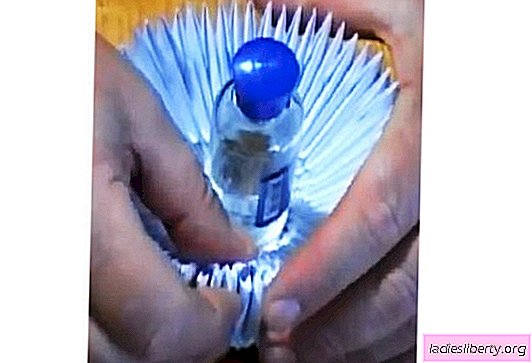
In fact, the further appearance of the swan depends on your desire. The modules are stable enough to withstand all kinds of bends of the wings or neck. Anyway,
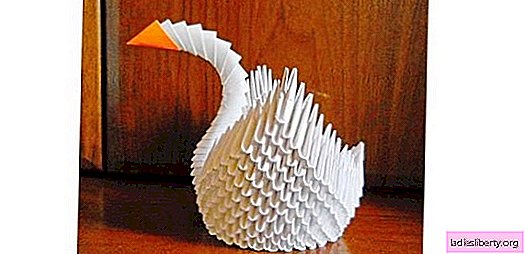
Consider a simple modular swan
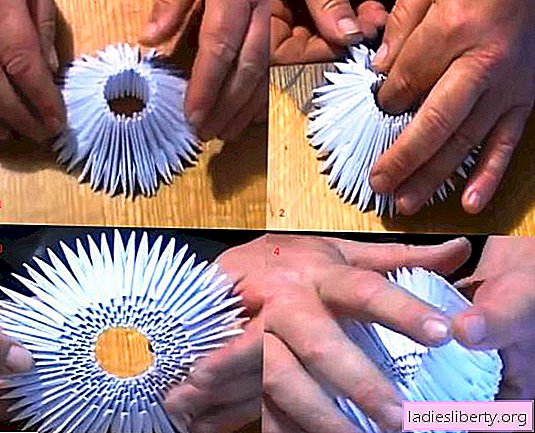
1. Conditionally divide the swan into 2 parts. On the one hand we will have a tail, on the other - the neck.
2. The highest point of the wings may be located symmetrically on the center of the semicircle, and may approach closer to the tail. A simple way is symmetry: divide the circle into 4 equal spaces.
3. Now we divide this distance in half - there will be transitions between the main parts. Note: there will be a transition in place of the neck - we won’t dial into the modules.
4. We collect one more row, but at the transition points we remove the module. In subsequent rows.
5. Add 3 more rows.
6. Further: wings - we collect 4-6 rows more, without reducing the number of modules in a row; tail - row after row comes to naught.
7. There is an option when the height of the wings and tail is the same - then they are typed in the same way, most often, on the principle of constant decrease.
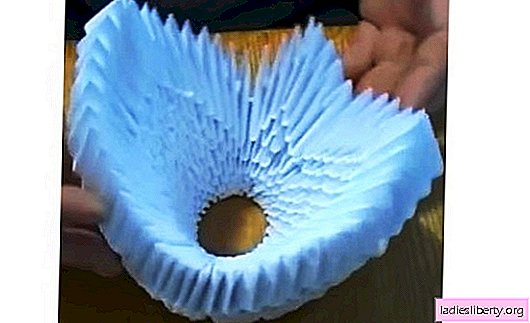
How to make a paper swan neck?
To create a neck, we need 30-40 modules. We put them in a row, one into one, align them in a straight line. Now we bend the modules - the ideal form is the upper part of the number 2 or a question mark. For the beak, you can take the module from orange paper.
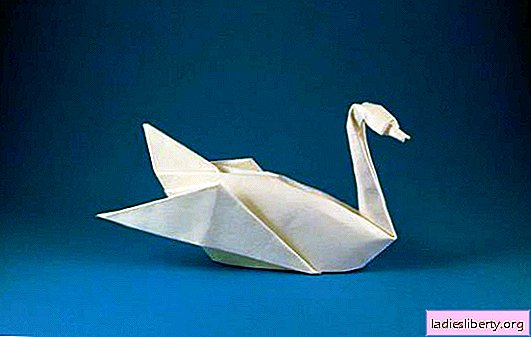
Origami swan
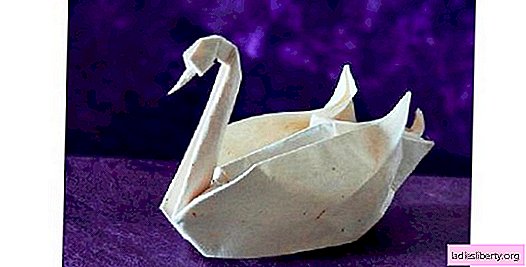
The difficulty lies in the fact that all operations must be carried out extremely carefully and accurately. For a child who does not have much experience with origami, such a figure will be too complicated. The slightest deviation or improperly bent sheet leads to unusability of the workpiece. Have to start from the beginning.
Paper swan
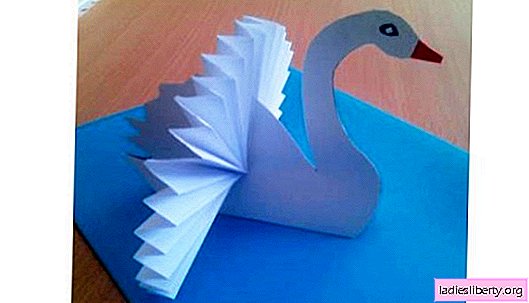
This is the easiest way. For the elementary school level, the product will be simple and straightforward. The hardest part is to draw a shape. The body of the bird is better to make not of paper, but of cardboard or any hard material. The figure is divided into 2 parts: body with stand; wings.
So, we draw, and then we cut out the body of the bird. On the back we make a cut at half height. To make wings, you need the following.
1. On one side of the sheet cut an arc.
2. Fold the sheet with an accordion.
Now we insert the wings into the incision on the back - that's it, the swan is ready.
As you can see, there is nothing complicated. Now you know how to make a swan out of paper. To give the model a better aesthetic appearance, it is painted. Absolutely any kind of paint is suitable for this, but colors with sparkles look much more spectacular. Popular options:
• black with a white collar and vice versa;
• silver;
• gold;
• Navy blue.
The flight of imagination is not limited by anything, and if a child also takes part in creating a three-dimensional model, then leave the choice to him, as well as painting. If he doesn’t finish something, then do it without him, and it is advisable that the child does not see it.
To revive the figures, you can glue the eyes. Using a black pencil or brush, add small curved lines. Work on the beak.